
what to wear: glasses
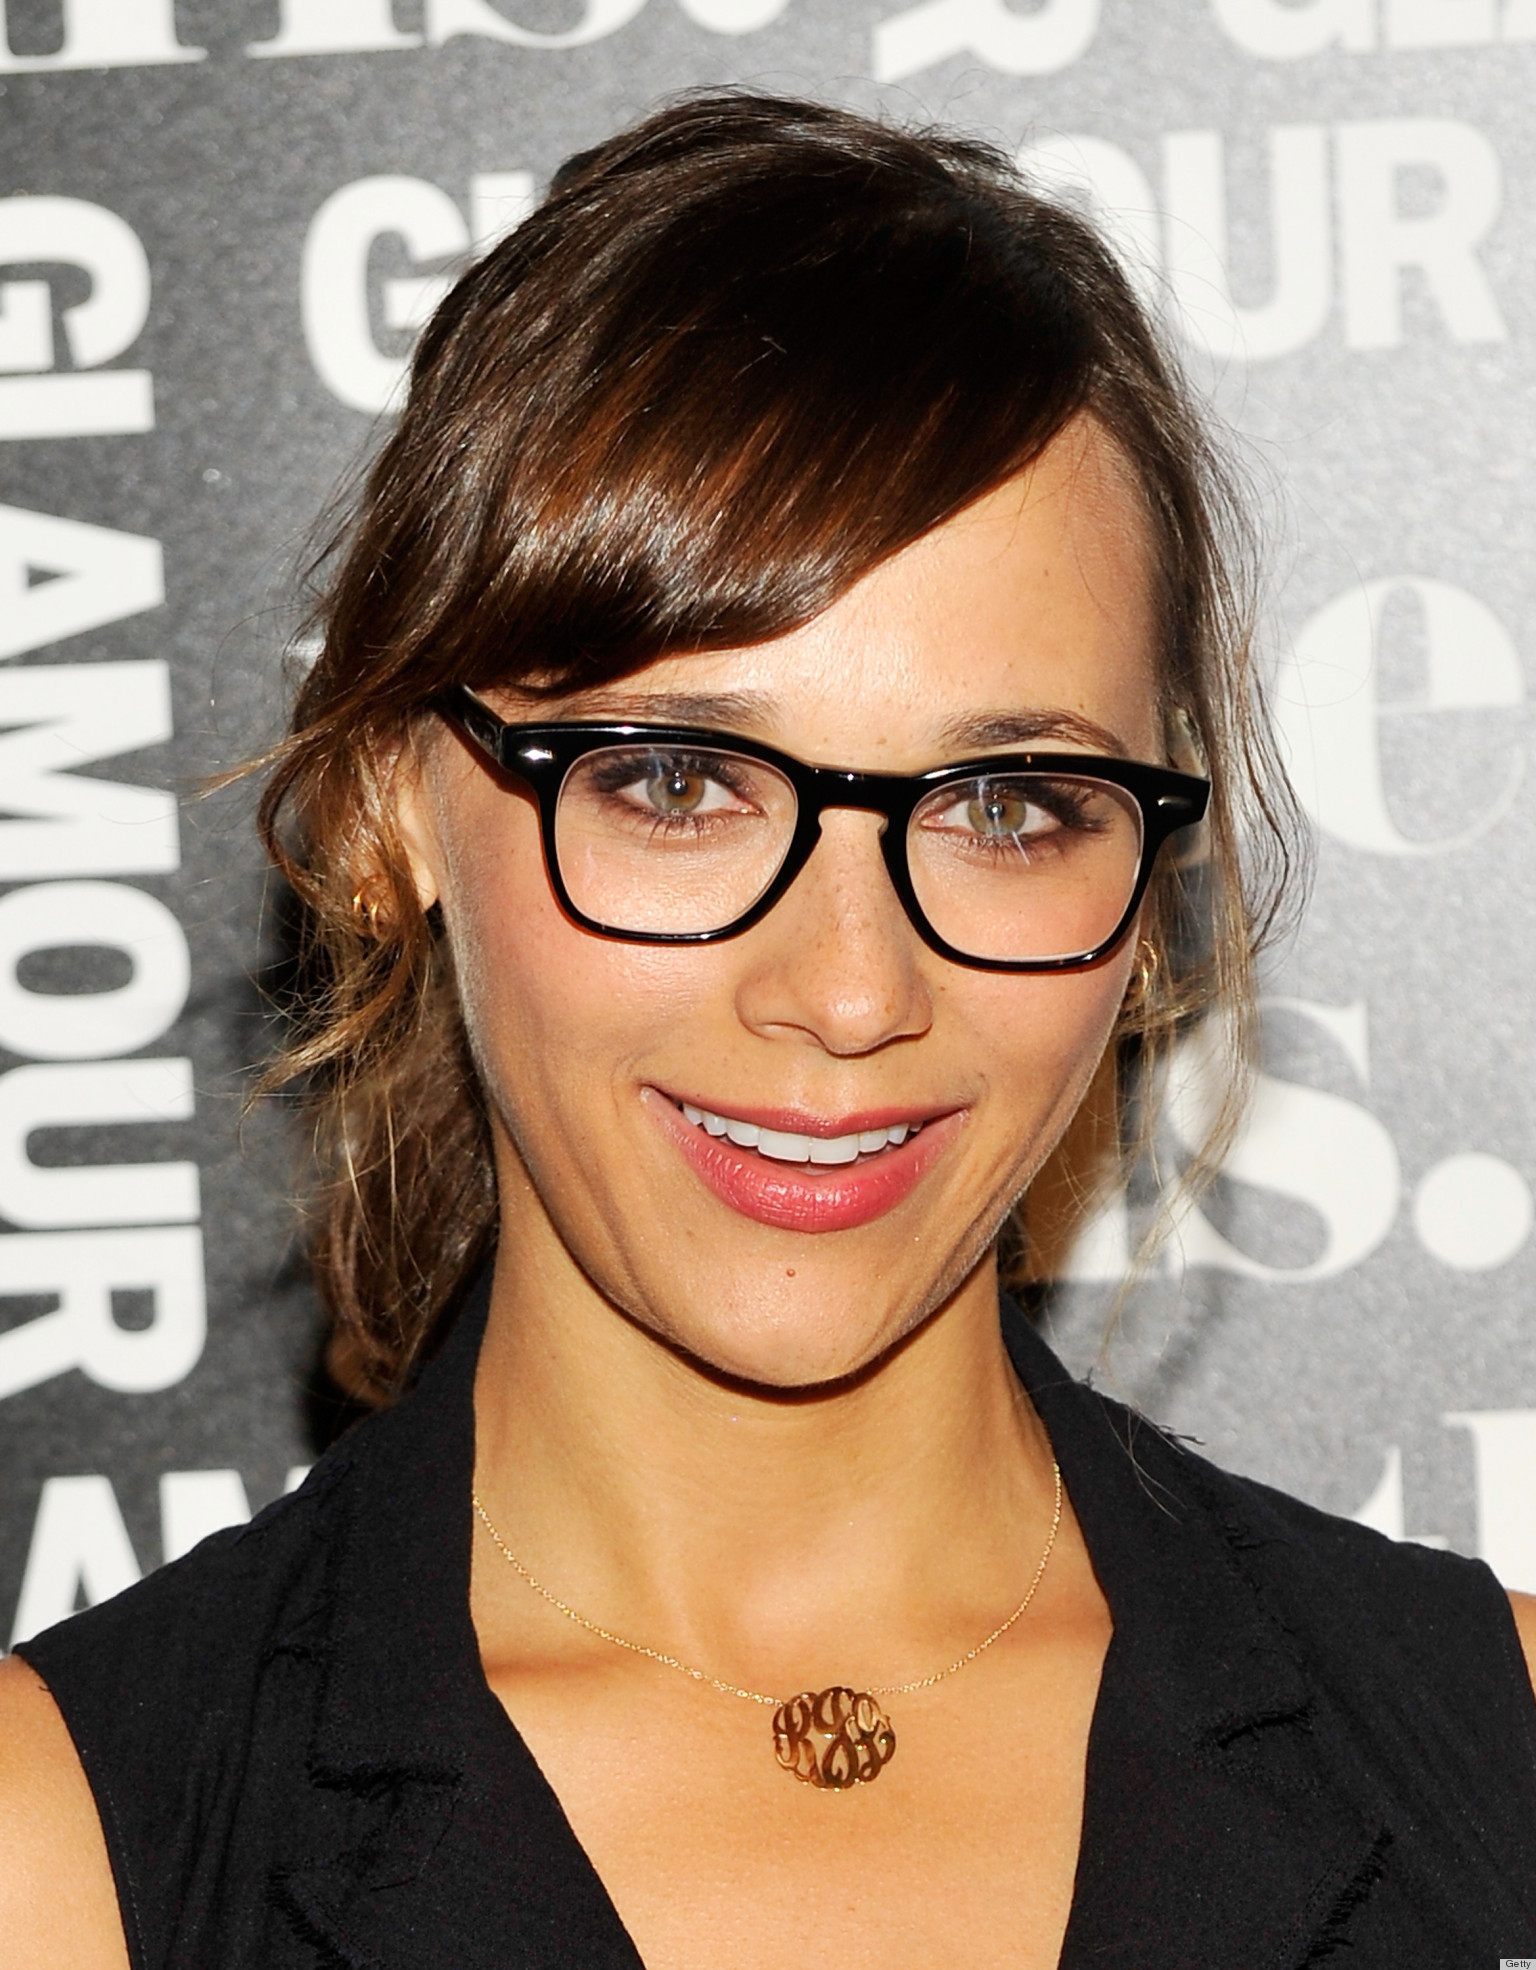
We’re going to take a brief time-out from our Classics Revisited series to chat about glasses. I wear them (not every day, but they exist), and I come from a proud glasses-clad people. When I first got contacts, my 16-year-old self rejoiced at all the makeup doors that had just opened to me with the flip of my first Acuvue lid. But sometimes, it’s nice to return to our roots, and glasses wearers deserve to look and feel just as fabulous as all those schmancy people walking around with 20/20. So let’s play, and focus just on the eye area. The picture included is of Rashida Jones, all-around gorgeous person, glasses or no.

Step One: You all know what I’m going to say. Eye base! I love a brightened eye, especially behind glasses, and base is all the more important for the glasses factor. On top of the base, put a light layer of a softly shimmery neutral shadow. The one in this pic is a brushed gold, but you can pick whatever color makes your eyes look the brightest.
Step Two: Line the top lashes with a black waterproof pencil. Waterproof means it won’t run and end up making your under eye look dark, and black helps counteract any redness that might linger around the area. Let’s be honest: if you’re not an everyday glasses wearer, you’re probably only pulling these puppies out when you’re too tired to deal with contacts–redness city!
Step Three: Correct the tone of your under eye. Start with a luminizing eye cream, like Rilastil Progression HD. Over time, it helps to lessen the intensity of dark circles. After that’s had a chance to absorb, apply one of the T LeClerc Fluide Correcteurs. These come in a light pink, “Orchidée,” and a pale yellow, “Banane.” I like to put this on particularly dark under eye circles before regular concealer. Behind glasses, this will help to counteract the shadow that automatically happens. If you are naturally bright-eyed, then we are all jealous, because you don’t need this step! You may also choose to forego the bushy tail.
Step Four: Now it’s time to conceal your under eye! For a look that goes well behind glasses, try extending your concealer about a finger’s-width beyond the outer corner of your eye, and just onto the top of the apples of the cheek. This serves to, again, make you look brighter. We can’t have you looking like there’s a sleep circle hiding behind those lenses!
Step Five: Line your lower lashes with a color that intensifies your eye color. Seen on Rashida is a soft, plummy brown. Curl your lashes to make your eyes look bigger and more open, and then apply either a waterproof black mascara, or a black tubing mascara. My sister, a daily glasses wearer, adores the Kevyn Aucoin Volume Mascara, because it gets every last little lash with the tiny brush, but the tubing formula doesn’t rub off on the lenses. It also helps to use a formula that isn’t lengthening–there are few things more irritating when wearing glasses than having your lashes constantly bumping the lenses.
Step Six: Fill your brows. Brows can completely disappear behind glasses, especially with more dramatic frames, as seen here. Rashida’s brow is natural, but stands out a little bit. The focus should be your eyes in a look like this…and that includes your brows! If you’re not into crazy brows, try the Smashbox Brow Tech To Go–it’s a soft, angled pencil that also has a brow gel on the back. Couldn’t be easier!
Step Seven: This is a completely optional step, but I do think it adds just the right amount of extra something to make you feel a little more glam in your glasses. Blush! Put a soft, glowy swirl of neutral pink on the apple of your cheek, and prove to your middle school self that glasses are indeed what the cool kids are wearing these days.


1 Comment
Love this! I wear my glasses a lot on the weekends/evenings and these tips are so helpful.