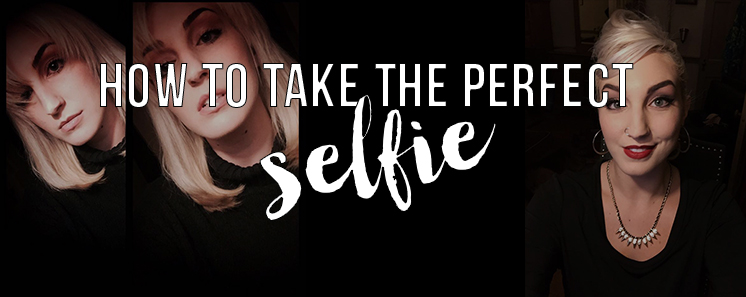
6 steps to the perfect selfie
True story: I fell for photography after I ruptured my spleen…on a saxophone. That marching band injury made it impossible for me to participate for the remainder of the season, so, logically, I did what any bored high school teenager would do: I started taking self-portraits…lots and lots of them (more on this below – don’t judge!).
So before the term “selfie” had even been coined, I was mastering the techniques to make a great one, and now I’m sharing my hard-won secrets with you. Just like my last post, 7 steps for perfect iPhone photos, you want to keep several things in mind:


1) Think about your lighting.
Let’s start with the basics: lighting and setting. You want to set up in a well-lit area, preferably lit with natural lighting. Natural lighting is prime for selfies. It gives all-over, even, soft coverage, and is the most easily accessible flattering light. Don’t have natural light? Try turning on a few lamps. Do not use overhead lights only as this will cast unfortunate shadows from your eye sockets/eyebrows, nose, and chin. For a dramtic approach, use a strong srtificial light slightly off center, slightly above you (not overhead). This will create shadows and give a “moody” outcome.

2) Use a minimalistic, simple background.
In a nutshell, be aware of what’s behind you. Look around: is there a lot going on in the background? Things to immediately look out for: laundry, toilets (yeah, this happens), dirty dishes, kids’ toys, etc. I’ve seen far too many selfies with random distracting background clutter.

3) Keep in mind where you’ll want to use this photograph
…and pose accordingly. Where do you plan on sharing your selfie? What are you trying to say? If you’re putting this much work into it, you probably want to share it with the masses — as you should! Just think before you hit that button: know that once it’s out there, even if you “delete” it, it’s never really gone.
Now, if you’re anything like me, you like to show off your personality. I’m all about taking crazy, fun selfies and posting them. However, there’s a difference between a fun selfie and an appropriate selfie. Check out some of my silly-side selfies above to get the idea.

4) Know your angles
There’s only one way to learn: practice. Yes, with mirrors. Yes, it’s awkward. But yes, you will end up learning what works. When I first started, I filled my father’s computer with thousands (I think more than 10,000 if I remember correctly) of selfies. I’ve never lived this down, but that practice was so worth it! I learned not only how to pose myself, but my subjects. Understanding the angles of your body will do more than Photoshop-wannabe app will ever do. (PSA: DO NOT USE THESE APPS, they’re terrible and it’s obvious to tell what’s been poorly edited with fingertips.)

5) Use the camera on the back of your phone whenever possible (especially in low light!)
Sure, the front camera is more convenient, but the back camera is much higher quality. And we want this selfie to look good, yes? Take a look at this selfie with my sister using the front facing camera. The quality is much lower than the second image, a back of camera shot.


6) Take advantage of iPhone hacks
Finally, and this will help with the previous step, know your iPhones hacks (sorry Android users). The first one I mentioned in my previous post, know how to correctly expose your images (see at the video below for a refresher). Here’s another one for you: did you know that the volume button on the side of your phone works as a shutter release? Did I just blow your mind? If you didn’t know this, you’ve been missing out, it’s a huge help when capturing the perfect selfie. Grab your phone now and give it a go!
And now, just for fun, here are some of my non-perfect selfies from high school, circa 2007 + 2008.
There you have it, the steps to take the perfect selfie. It looks overwhelming, but practice and by next week you’ll be a pro. Have questions or concerns? Shoot me an email at sarah.m.hallee@gmail.com or check out my site at www.photographersarahmarcella.com.

Pro Selfie: Taken with full studio set up, high resolution camera + remote shutter release, 2016.
If you’re having difficulty getting that perfect profile pic, give me a call and we’ll schedule a time to take some great social media portraits.